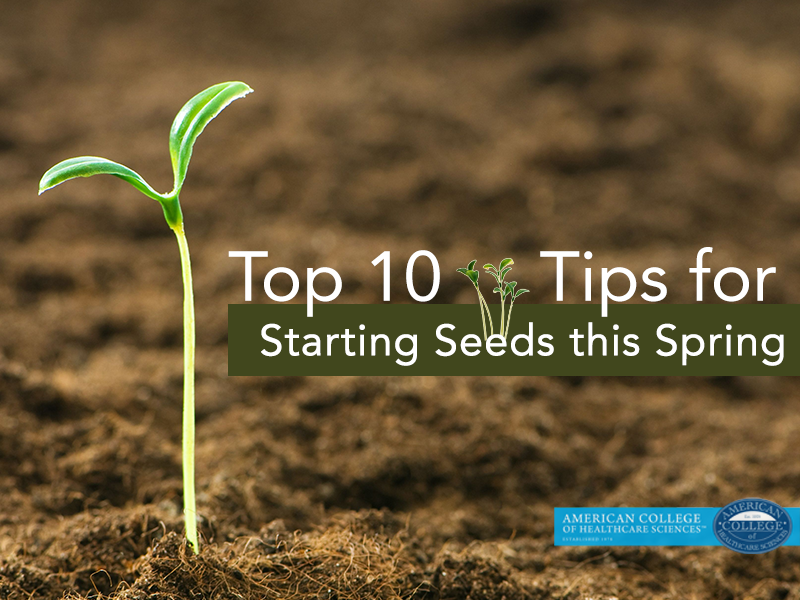
Seeds are a cheap and easy way to expand your garden. When to start seeds depends on your zone, so be sure to check with your local agricultural extension agent for a list of what to start in your area and when. Or, if you prefer a more techy approach, you can try an online tool like Smart Gardener to help you plan your veggie patch. [1] If you happen to live in Oregon like I do, you can view a list of which vegetables to start and when from Oregon State University online here.
Although it is a little more work than starting with plants in pots, growing herbs and plants from seed is the cheapest method to get a lush herb garden this year. Starting from seed also lets you choose from a much wider variety of species and varieties.
You can purchase seeds all over the place: Even Costco has a great organic vegetable seed pack this spring! Or you can buy from online specialty stores with heirloom and organic varieties. You may also want to join organizations, like the nonprofit Seed Savers Exchange, which swap or sell heirloom and rare seeds.
As you start collecting your seeds, store them in dry containers—dampness kills seeds, causing them to mold and start germinating. I use plastic shoebox-sized containers, and I like to save the desiccant packages that come in various things (shoes, handbags, etc.) and use them in my seed containers. Mice also love seeds, so be sure your container is mouse proof.
Remember that a seed contains all of the genetic information needed to develop into an entire plant. It is fantastic to have kids help you start seeds, as having a sunflower grow from a tiny seed never ceases to amaze even the most jaded city tyke!
The process of transforming from a dormant seed embryo to an active growing state is called germination. Germination requires water, oxygen, and a favorable temperature. Some plants, such as celery, require sunlight, while others require darkness.
Some seeds are dormant until they are scarified (when the outer coat of the seed is broken or softened), or chilled (or stratified, which can be accomplished by putting seeds in wet paper towels in a refrigerator). These more advanced seed starting procedures can be found in a good gardening book.
When conditions are just right, the radicle emerges first from the seed. The radicle becomes the primary root and grows downward (in response to gravity—which is why you can plant seeds any way up!). Root hairs and lateral roots develop from this primary root.
The very first leaves that appear are called the seed leaves or cotyledons. They surround the embryo and are usually shaped differently than the leaves of the mature plant. This can make it really hard to distinguish types of plants from the first leaves! Note that monocots produce one cotyledon while dicots produce two.
Some seeds germinate very easily (radishes are my favorite!), so are great for first time seed starters. Others can be quite cranky and require you to stratify, scarify, apply or withhold light, or some combination of the above! I always recommend starting with “easy” seeds, particularly for kids and newbie gardeners. There is nothing like instant gratification! Some of the most important factors to keep in mind when starting seeds include:
- Old seeds are less likely to germinate. Germination favors the young! Older seed is generally less viable than young seed, and if it does germinate, the seedlings are less vigorous and grow more slowly. But don’t discount older seed entirely; you may get fewer seeds germinating, but you can still germinate some. Usually, packets have hundreds of seeds, so you can get some viable plants from even ancient seeds if they have been stored correctly. In Oregon, the Hoyt Arboretum successful germinated a seed that was more than 1,000 years old and the Smithsonian recently reported on a Judean Date Palm that was grown from a 2,000-year-old seed and reproduced! [2]
- Make sure your seedbed is properly prepared and made up of loose, fine-textured soil (more about this shortly).
- Plant seeds at the proper depth. Don’t bury them: if they are too deep, they won’t be able to push through the soil. And don’t let them wash away by planting them to shallowly. We’ll cover more about depth shortly.
- Don’t drown your seeds but don’t let them dry out either: Seeds need constant moderate moisture and will rot if overwatered and die if they dry out.
A cautionary tale: Last year I planted new raised beds with a variety of organic vegetable seeds. I had a good friend help me fill the beds and she used some compost that hadn’t matured for long enough. Of course, once it was in the new garden beds, I sure didn’t want to dig it out and thought I’d be ok if I covered it over with a layer of sterile topsoil. Big mistake. I was put on bed rest for my pregnancy so wasn’t able to weed. Within a month, the beds were overrun with weeds. It was a reminder of the advantages weeds often have! It was almost impossible to see the actual plants that I wanted. For that reason, starting seeds in containers and transplanting once they’ve grown can be a better alternative unless you’re sure that you have very clean, sterile soil bed!
Top 10 Tips as You Start Your Seeds this Year
When container gardening or starting seeds to transplant:
- Use seed starting mix or good-quality potting soil that has been sterilized. I strongly recommend buying seed starting mix and sterilizing soil in your oven, while possible, leaves your house smelling like a hobbit house from Lord of the Rings. Or so I imagine!
- If you are planting seeds in a container and plan to leave them there, make sure your container has a drainage hole in the bottom. For some strange reason, lots of planters no longer come with holes. This is simply a recipe for disaster! Your seed starting flats also need good drainage, so watch the ones that come with a bottom tray—if that fills up with water and sits, it encourages fungal disease.
- Dampen the soil and then allow it to dry for few hours before planting your seeds. Overly wet soil will rot your seeds and cause fungal disease.
- Consider using soil blocks. While the soil-blocking tool can be expensive, it lasts forever, and you won’t have to buy seed starting containers again! It also avoids transplant shock when you are transplanting your plants. Here is one of my favorites: Hand-held 4 Soil Blocker w/New Comfort Grip
- You can transplant after the first “true” leaves appear (remember to distinguish between those cotyledon leaves! Be very careful not to damage the young leaves and roots. Check out YouTube for videos showing how to transplant. Using soil blocks avoids the needs to transplant, which is one major reason I love this technique!
When direct seeding:
- How deep? Use the size of the seed as your guide. Usually, you can plant seeds as deep as the size of the seed (same with bulbs). If the seeds are tiny, such as poppy, scatter them across the top of the soil.
- Do not over till the ground, which destroys the soil structure. Instead, spread a shallow trail of sterile seed starting mix on the top of the prepared garden bed.
- If you can squeeze moisture out of a handful of dirt, the ground is still too wet to plant. If you plant when the ground is too wet, the seeds will often simply rot, so it is better to wait. Some areas have very specific planting times, so check with your local extension office. Don’t make the mistake of planting too early as cold wet weather will just delay germination, increase chances of rotting seeds, and stunt the growth of the plants that do germinate.
- If you have raised beds, the soil temperature will be approximately 15 degrees warmer for the plant than if it was planted directly into the ground. Make the bed six to eight inches taller with compost and your seeds and plants will have warmer temperatures and good nutrition as well as better drainage!
- Remember: Do not over-water. Dampen the soil and then allow it to dry for few hours before planting seeds. Water is a funny thing—you want just the right amount: not too little and not too much!
What are YOU be planting in your garden this spring? Share with me in the comments.
References
[1] Entrepreneur. (March 2015). How a Green Thumb Is Helping This Entrepreneur Earn Greenbacks. [Online]. Entrepreneur. Retrieved from: http://www.entrepreneur.com/article/242509
[2] Clark, L. (2015, March 26). SMARTNEWS: Tree Grown From 2,000-Year-Old Seed Has Reproduced. [Online]. Smithsonian Magazine. Retrieved from: http://www.smithsonianmag.com/smart-news/tree-grown-2000-year-old-seed-has-reproduced-180954746/?no-ist
Disclosure of Material Connection: I am the CIO of American College of Healthcare Sciences, the Institution that publishes this blog. However, all opinions are my own. This blog may contain affiliate links. I am disclosing this in accordance with the Federal Trade Commission’s 16 CFR, Part 255: “Guides Concerning the Use of Endorsements and Testimonials in Advertising.”
This article is for informational purposes only. It is not intended to treat, diagnose, cure, or prevent disease. This article has not been reviewed by the FDA. Always consult with your primary care physician or naturopathic doctor before making any significant changes to your health and wellness routine.


